Friday, March 11, 2016

Pip Pip Hooray!

After all the worry and uncertainty, the royal chickens are beginning to hatch!

First there was the pioneer chick who popped off a part of its shell. I was elated when the King pointed it out to me because it meant there was hope after all!

Because after that, a second egg pipped. And a third. And now a fourth. At this point I'm going for it, we're gonna hatch all 18-19 chicklets, I feel it in my bones!

We got incredibly lucky...

So what is a pip? It is when the chicken first pokes through the shell. They have what is called an egg tooth, and they use it to break through the membrane into the air sac and through the shell. It is step one in the hatching process.

This is our second pipper:


If you look at the bottom of the bottom egg you can see where I marked the air sac with a pencil, and just above that, almost in the center, is a slightly raised bump where the chick is poking through. It can easily be overlooked unless you know what to look for... but there it is - a pip!

There are two eggs that have pipped and two which are in the process of zipping, which is when the chick has chipped all the way around the egg and is preparing to use its legs to kick the shell away from its body.

These are our more advanced eggs:


The one at the top was the first to pop its top, the lower one pipped third but broke through second, and below that, just out of the picture is the most recent egg to pip.

They will all hatch at different rates and it can take 24+ hours for the whole process to occur. Maddening! But at the same time, it's more than I was hoping for, even if I really was hoping for this... hard to explain.

This photo is from a thread on the Backyard Chickens blog, it show a full zip:


It's what I hope to see tomorrow. This is like waiting for Santa on Christmas morning... but more stressful.

So once they are out of the egg, we leave them in the incubator for two reasons. First, to dry, because they can easily get cold and sick if they are wet. Second, to peep and bump into other eggs which encourages them to pip/zip/hatch.

At the end of the hatch they absorb the yolk sac and can forego food for up to three days. Hopefully they will all hatch within a couple of days of each other and we won't have to figure out what to do about chicks and eggs... If you open the incubator while a chick has pipped you risk drying out the membrane and shrink wrapping the poor thing, so it's best if you don't have to...

To that end, the sponges are working beautifully. I am using a straw and a small funnel to add water to the sponges through the air holes, and the humidity is holding at about 60-65% where it needs to be.

 Fingers crossed for healthy, happy chicks!

Wednesday, March 9, 2016

It's that time again...

Daffodil explosion!


Just wish they lasted longer...

Mother Hen

The Queen has been one worried mother hen...

The incubator had been holding steady all this time... 102F'ish. Perfect.

Until last night.

When I returned from lunch and it was 104F. I don't know for how long. I was gone for five hours.

I tried to turn it down. The top of the incubator has a sticker that shows Increase on one side and Decrease on the other. I turned the knob, ever so slightly, toward Decrease. I didn't want the temp to swing too much in either direction.

It had the opposite effect... the temperature increased. I thought somehow I misunderstood and turned it the other direction. Increased. Back toward decrease. No matter what I did the temperature just kept going up. It topped out at 109F, which is NOT good. Luckily I was there to help bring it back down, but I'm sure it had an effect.

So after three nervous hours of tinkering, I finally got the incubator ranging between 101 and 102F again. Around 2:30 AM I finally went to bed but got up a couple of times to check. Still holding. Good.

At 8 AM I called the local Tractor Supply to see if they had an incubator in stock, otherwise I was going to have to drive to the next closest TSC which would be an hour or more. Luckily the local one had a whole bunch, so I drove out and picked one up. I half thought to get two so I'd have one as a backup just in case... It was easy to set up and the temp is holding steady. It has a thermometer/hygrometer on the lid, I have the manual thermometer, and I am also using the digital thermometer/hygrometer. They are all pretty much in agreement.


The humidity is a little different because one is right next to a sponge. But all in all, not bad.

I just hope the temperature spikes and fluctuations didn't kill the chicks. It would be heartbreaking to get so close to hatching then lose 19 chicks. Positive thoughts people... positive thoughts... We're on lockdown.

The chicks are still thriving. I added another cleaning measure to the routine. Before I put the gravel back down I sprinkle some baking soda underneath to help with the ammonia odor. At first I put it on top of the pebbles but thought it could end up causing skin issues on their feet, so this should be a slight improvement in that regard.

I also lifted the roost. The ducks were having to hop over the roost to get to the food, so this way they can duck under it (put totally off the cuff but completely intended) and get to it more easily.

Tweaks. It's all in the tweaks. The chicks even seem to like it better and have hopped up there more often than usual today. There's one that keeps overshooting it, it's like watching an Angry Bird missile fly through the air but miss the pigs... kinda funny.

Tuesday, March 8, 2016

Preparing for Lockdown

The Queen is hatching her hatching plan.

This is my understanding of how the process works:

On Day 18 (tomorrow!), it's time to prepare for the hatchlings. This means removing the egg turner completely and placing a non-slip surface on the floor of the incubator so the chicks don't end up with splayed legs. Our incubator is made of styrofoam and has water channels at the bottom. On top of that is a wire grate which could cut their uncoordinated little legs, and holes they could get their legs stuck in. So I'm going to cover it.


The basic layout.

I candled the eggs one last time this evening and tossed three of them. This was to check for eggs that that stopped developing. Some people also recommend marking the air sac, because if the chicks begin to pip elsewhere, they may need help to finish hatching. Pipping is breaking through the shell. So I have done that.

I hope no one needs help because if they haven't absorbed the yolk and you start breaking the shell, they can bleed to death. But then I guess if they're having trouble they are probably going to die and all you can do is cross your fingers and hope to save them. But then... I also guess... if I'm not supposed to open the incubator until the chicks are dry and fluffy... they may not make it anyway... but we'll see.

At this point the eggs don't need to be turned anymore, and here's why they shouldn't be turned: The chicks will begin to position themselves for the hatch, orienting themselves toward the air sac, and moving them around only causes them to expend unnecessary energy to get back into position. So at this point, you just lay them flat on top of the shelf liner and close the lid.

However... in another article someone made a really good point... by removing the egg turner I will be lowering the eggs away from the heating elements, which will affect the temperature of the egg. Too much fluctuation can be deadly. So I have to raise the wire grate by approximately an inch to maintain the right temp.


The King's solution is to put one of those cooling racks underneath. $3 at Walmart. Done.

Then it's time for lockdown. No more opening the incubator. Just sit back and chew your fingernails to nubs relax with several glasses a glass of wine while you wait for chicks to hatch.

But not quite so fast.... You also have to make sure there is adequate ventilation in the incubator. Ours has two small holes on the top. One is currently taped over; I'll remove the tape so more air can circulate.

Last part of the process is to increase the humidity to about 65%. I get one last chance to fill the water channels. After that it gets tricky because you're not supposed to open the incubator anymore. Doing so causes the humidity levels to drop too much, and most importantly, if a chick has hatched, it needs to be dry and fluffy before the incubator is opened. I'm sure they all hatch at different rates, but at the end they absorb the yolk and can go up to three days without eating so early birds and late bloomers should all be fine.

So... remember those air holes I mentioned previously? I plan to insert milkshake straws through them (they're bigger and more rigid than drinking straws). That way they don't block the airflow, but I can pour water into the incubator as needed.

I plan to put sponges underneath the straws, the idea being that they will supplement the humidity and get the numbers up to what they need to be. Filling the water channels seems to keep the humidity at about 50%... but I won't be able to fill them with the lid closed and shelf liner over them.

Humidity is important because if the eggs get too dry, the albumen can shrink around the chick and suffocate it. Like shrink wrap. Doesn't sound fun. Even if that doesn't happen, low humidity makes it harder for the chick to break through the shell.

At that point I'll set my alarm for 30 mins, adjusting it out until I know about how often I need to re-wet the sponges to maintain the humidity.

So... um... some people say it's an easy process, but it seems to me there are a million ways it could all turn to shit. It's my first time attempting this and I don't want to kill my chickens... I want all of my potential chickens to hatch... only 2% of me wants that so I can brag to Mayor Tom about it. The other 98% is just excited for the baby chicks and the feeling of accomplishment that I successfully hatched them!

Oh, and the Tractor Supply chicks are becoming chickens! It's amazing how much they change day by day.

This is Willow.


They grow up so fast... 

Monday, March 7, 2016

R to the V and the learning curve associated with brooders

Our new RV is not as plush as the one we had before, but it is a pretty good deal for the price we paid. With a little elbow grease, it cleaned up pretty nice.


Ask me how we spent our weekend? But you know, I feel like we're over the biggest hurdles now and we can get back to the rest of the hurdles.

The bathroom is tiny, that's the worst part about it. But the King did get a new mattress that's rather cushy, so at least it's not all bad.


The bed was all pretty because we bought a comforter set, but the King has his own sleeping preferences, so it's utilitarian... sigh...


Kohls is awesome by the way... we got that comforter set that came with two sheet sets, two Queen sheet sets, and a curtain for under $100. And we'll get $10 in Kohls cash to spend next week. I was expecting to pay twice that.


All homey at night... the King wants a patio set... it will be a nice future addition, especially now that the weather is getting warmer.

The chickens and ducks...

Learning curves. That's what it's all about... learning curves.

First off, I know why they call them fowl, but I think they spelled it wrong. Those little f##kers are foul, f-o-u-l, foul. To be fair, I think it's the ducks and not the chickens that are making it so miserable in there... but I'm feeling my way around it and day by day it gets better.

Most important thing I've learned is to keep the food far away from the water, that way it stays dry and doesn't start to become a fermented mush, because inevitably it ends up everywhere. The mush is definitely the ducks doing because they shovel up the food then go to the water and wet it down; ducks need water to eat because they are toothless. I get it. But it's messy.

And duck poop is much larger than baby chicken poop. Also sounds like a half empty squeeze bottle when they're scared. Or at least when Howard is scared.

The King came up with the idea to put the waterer inside a pie plate to help catch some of the water that the ducks splash out and that has also helped. They were splashing all the water out in 4-6 hours and now I don't have to refill it for 8-10. When I get a bigger pie plate it should help even more.

The litter: I got the wrong kind of sand, hard to know if you don't know squat about sand and can't see inside the bag. I just knew it couldn't be playground sand... What I got turned out to be fine like silt and there was dust everywhere. Howard started to develop a cough but I knew it wasn't good for them (or me for that matter) before that happened.

So I had the King pick up pea gravel. The pea gravel is big enough that they don't seem interested in eating it... well, no one but Howard the Huge, but he quickly found that it wasn't to his liking. Phew.

The pea gravel isn't a perfect solution, but I can scoop the pea gravel up, put it into a bucket, rinse it off through a colander that is now used solely for that purpose, and I think that's going to be okay. It's not dusty, it's reusable, it retains heat, it's not slick... no dust. Sure it's a pain, but the wood shavings were a pain too, and they could get moldy.

So... Howard the Huge... To the far left you see Red, a 7 week old (probable) rooster. That big yellow thing you see is a 2 week (estimated) old Howard. Even Bill - also a duck (next to waterer at the bottom) - isn't keeping pace.


The chickens are getting bigger too. Their wing feathers are more obvious, they're developing tail feathers, and they fly a little here and there. Perching has become a more attractive pasttime. There are a couple that are more friendly than the others, or at least less skittish. The little buff chicken will be Buffy, she's the friendliest aside from Red. It's hard for me to tell the rest of them apart... I hate to admit that but it's true.

Look at the cuteness...


We sleep like the dead...


Sometimes I watch to make sure they are breathing because they sleep stretched out with their beaks in the pebbles.

Our thermometer/hygrometer came today. The manual thermometer we had registered about 101-102F, and you want the temp to be 98-103F, but closer to 101F in a non-circulating brooder like we have. The new thermometer registered 115F.

YIKES!

Then I realized the new one was too close to the heating elements while the manual thermometer was closer to the eggs. Problem solved. The manual thermometer is a probe, this one has dangly bits. So I lowered it down and the temps are closer together now. See? It's easy to mess things up and second guess yourself... but you learn. All the time you learn.

I turned the temp down, but I turned it back up. I figure the potential chicks are happy so leave well enough alone. Thankfully the thought that the chicks seemed to be growing set me on the right path or I probably would have killed them.


I candled the eggs for the last time tonight. I think I even saw one of the chicks move! How cool is that???

Answer: Very.

There are 5-7 eggs out of the 22 that may not have actually developed, or they started to and stopped. I smelled them and they aren't rotten so I'm going to leave them alone just in case. They have dark masses but look different now. The ones I am confident in are even darker and I can kind of see wings and blood vessels.

But I'm afraid to be wrong...

To be safe I'll open the incubator and take a whiff every day because the bacteria from one bad egg can contaminate the rest and that's important. But from here on out we'll be pretty much on autopilot. 

On Wednesday we're on hatch countdown! It's nerve wracking! At that point I add more humidity and by this weekend all the chicks that are going to hatch should hatch! Can't wait!

Seriously - did I mention it makes me edgy?

Thursday, March 3, 2016

Brace Yourself

The Red leg saga continues.

My q-tip splint didn't work very well, mostly because I had very little time to tweak the contraption before my helper fled the coop... so to speak. I pretty much had one chance to get it right and Red wasn't in a cooperative mood.

So poor Red is not getting better, but I am still working her leg. I pull it straight. I push it up and down. Then we "walk" and I keep the leg turned in. We do this several times a day.

So next... we have two braces in the works. The King came up with the idea to use an articulating kid's toy:


We would have to pad it to keep the sharp edges and screwheads from damaging the leg tissue, but it could work if the length is right.


The primary issue with it is that it isn't customized to Red's leg.

So we have a friend who does 3-D printing and the King approached him about Red's leg. He came up with this.


We have to measure Red's leg and he will tweak the measurements.


Who tries so hard to fix a chicken's leg??? We do.

Today the Queen removed all of the wood shavings and rubber liner and gunk from the brooder. It's a wonder our chicks aren't dead... it was disgusting. Once I dug down there was more moisture in the chips than I originally thought, and that combined with dropped feed (and poop) resulted in a nasty fermentation at the bottom of the brooder, which is what the royal nose was smelling.

It's times like these when I'm glad someone invented gloves.

The sand I replaced it with is dusty... but... it does live up to its promise to retain heat. And I believe with a cat litter scoop I can clean the droppings more easily. The water also evaporates so when the ducks (the little culprits) splash the water out, so it won't cause that same kind of nastiness. All in all, not perfect but better.

One change for the future, I need a coarser grain. My choices were limited and I had to do something so I did what I could.

Tuesday, March 1, 2016

When roosters aren't roosters

Each time I pick the chicks up, I put them on the roosting bar. Most just hop off to get the hell away from the big giant hand, but a couple seem content to perch for a little while. Either they're mortified, or they kind of like it. It's too cute. Roosters that are actually pullets.

Today I caught them practicing on their own!


One of them was walking the bar like a balance beam. Too cute!

The elevated food and water has been working very well. The ducks jump up there and splash around regardless, so they get some crud in the water but it's far better than it was. If nothing else, the pine shavings stay dry. And they also like the little plastic bowl of grit and food next to the clump of grass.

Tonight I candled the eggs a second time. I wanted to make sure before throwing them out because the darker eggs are hard to see through. Once it's dark the task is just a tad easier to accomplish because you're basically shining a flashlight under the egg and hoping to see veins or a large dark shadow.

It would be impossible for me to candle the eggs and take a photo, but it's day 10 and this is pretty much how they look (thank you Raising Happy Chickens!):


So out of the initial 40 eggs, we still have 22 that seem to be growing. That's pretty neat. I wasn't expecting that many, I figured 10-15. I know there's still a chance some won't make it, but I hope they do.


What are the odds that 99% of them are girls? If only.

Sadly, the one I was pulling for the most, the silver sebright egg, didn't make the cut. :( There was nothing there but yolk.

Even though it makes me sad, I don't take it personally. I figure they were never fertilized and it's nothing I've done. All I can do is monitor the temperature, which holds pretty steadily at 102F, wash my hands before handling the eggs to lower the risk of bacterial contamination, and keep water in the humidity channels.

On March 9th, once they have been incubating for 18 days, I start increasing the humidity. Apparently damp paper towels are the best way to go about this because the water evaporates more quickly, resulting in more humidity. I'll have to go with that since this is my first time to try it.

Humidity affects the size of the air sac. Not enough and it shrinks and can kill the chick. Too much and it can expand and the chick won't have enough room to grow. It's a delicate balance...

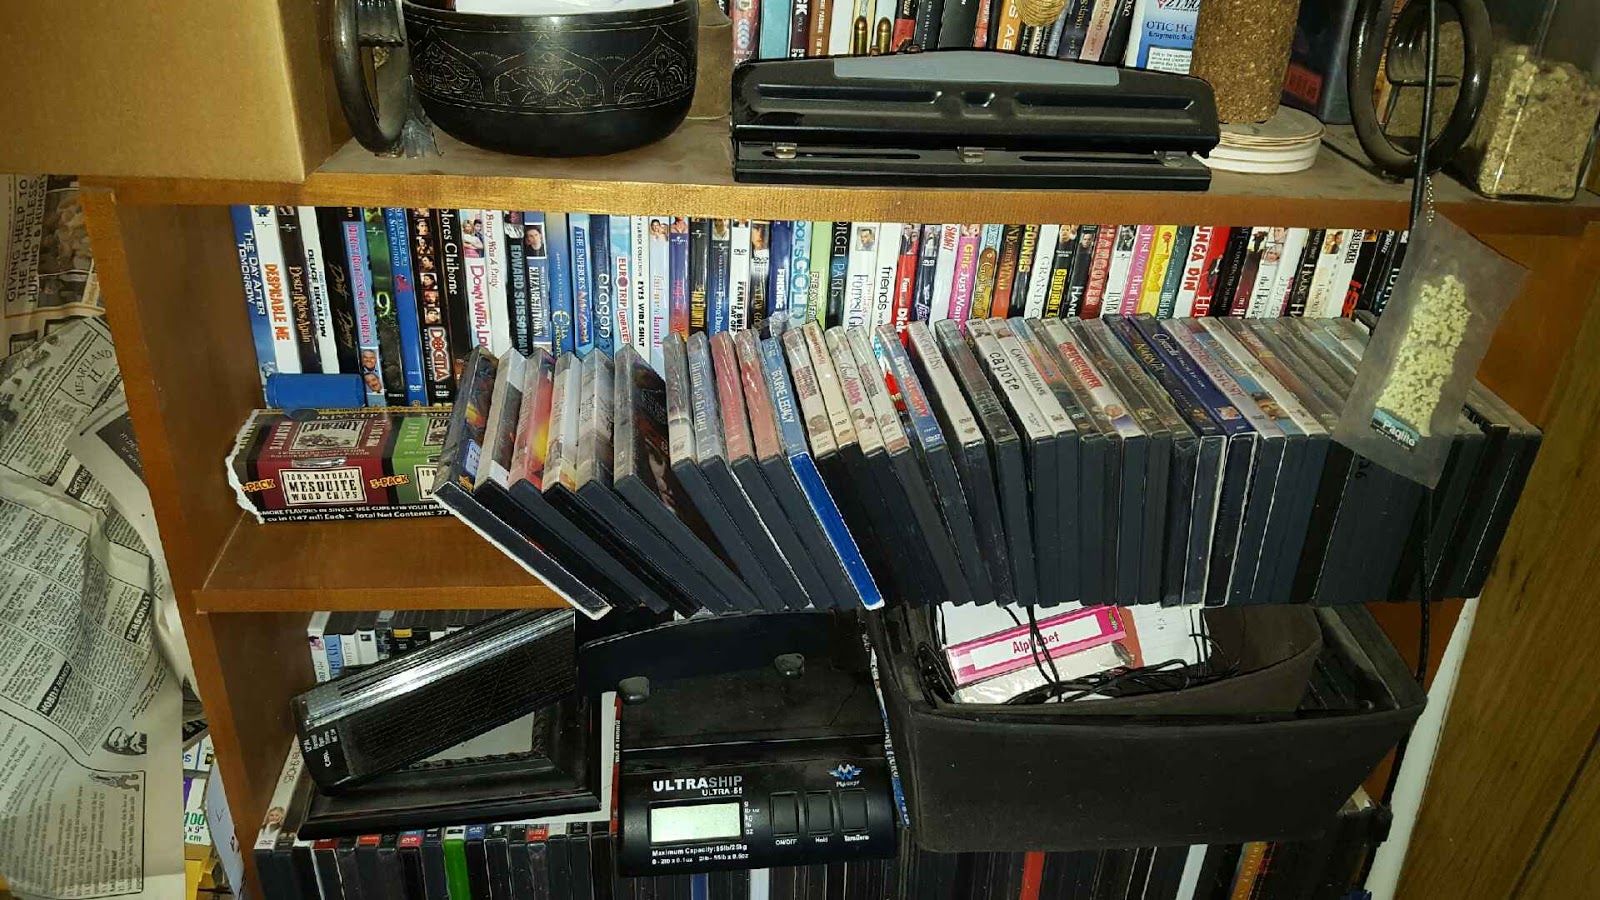
Aside from that, I finally got around to another project that's been a long time coming... the dvd collection. It's an eyesore and takes up a lot of space.


So I'm taking the dvds and liners out of the cases and transferring them to this:


So far I've cleared off... a shelf. Just one. Feels like a lot of work for such small reward, but once it's done it will help because we'll have a place to put some of the other stuff that's taken over the room.

It's been a rainy blah day, so a good day to do things, watch movies and hang with the dogs. Guess I'll go eat dinner and get back to that.